
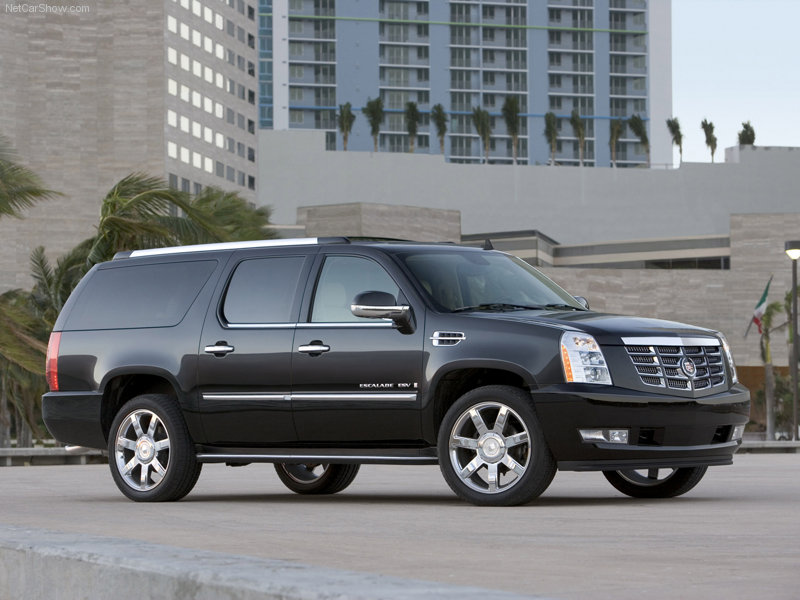
 If you do a Google search on “Escalade warped rotors,” you’ll quickly find lots of stories from Cadillac Escalade owners complaining about their front brake wear. It’s easy to understand why. These behemoths are heavy. The standard 2008 Escalade’s gross weight is 7,100 lbs. But if you opt for the longer ESV mode (like I drive)l, it’s 7,400 lbs! Stopping that kind of weight is murder on your brakes, and the front rotors (which handle the majority of the work of stopping) are prone to warping due to excessive heat. When your rotors are warped, you can feel a vibration in the brake pedal as the pads that squeeze the rotors rub on the warped uneven surface.
Keep in mind that the majority of most brake problems are probably not due to warped rotors. According to Tire Rack’s Brake Section of their FAQ:
Brake rotors don’t warp unless overheated. It’s very common to misdiagnose brake problems and attribute them to a warped brake rotor. Warping is caused by excessive heating of the brake rotor and the resulting distortion of the cast iron.
(When I first published this post, a reader named Scott commented with a link to this technical article explaining that warped rotors are often misdiagnosed, and that “rebedding” your brake pads is something you should try first. I agree.)
Here’s a short 3D animation (it’s only 27 seconds long) that shows how your braking can be affected by a truly warped rotor, and how you’ll feel it with your braking foot.
I could tell our Escalade’s front rotors were starting to warp at around 30,000 miles, so I had them “turned.” Turning a rotors shaves off a thin layer of the metal, the idea being that it will smooth out the surface so there’s no vibration when the brake pads do their squeezing. This worked… for a short while, but within another 10,000 miles, the vibration under braking was back with a vengeance. When the right-front pads started making a scraping noise (which is a sure sign they’ve worn down to the point of replacement), I decided to replace the rotors at the same time and fix the vibration.
One option, of course, was to take the SUV to the Cadillac dealer, have them replace the rotors, then cry when I got the bill. My local dealer wanted $149.10 for each OEM front rotor (there’s one on each side) and then $176.40 for a set of OEM brake pads (as a general rule, when I replace rotors, I also replace the pads). To install everything, they’d charge me $162. With sales tax, the grand total was $698.99! And to add insult to injury, in another 30,000 miles, I’d almost certainly need them replaced again, since the dealership can only replace the rotors with factory OEM parts — and the OEM rotors warp.
Option two was to do it myself… and also to try and find a rotor less prone to warping. This choice concerned my wife slightly, since I’d never actually changed brake rotors before. But I’d helped my Dad do it a few times when I was a kid (by “help” I mean I held the flashlight and handed him tools), and while the job does require at least a minimal amount of “handiness,” it’s certainly not rocket science.
I couldn’t find any YouTube videos that were specific to Escalade front brakes, but the 2007+ Chevy Tahoe, Suburban, and GMC Yukon all use the exact same braking system, and this how-to video was all I needed to give me the confidence to go ahead on my own:
After deciding to tackle this job myself, I went on a search for parts. Naturally, online discussion forums were filled with different opinions, but BrakePerformance.com seemed to be recommended regularly among Escalade DIY guys, so I fired up their website. When I got to the part of their Warranty Info page that explains their lifetime warranty against warping and cracking… with unlimited mileage… on their “Premium” dimpled and slotted rotors, I stopped reading.
You had me at “warping.”
I entered my year, make, and model in their website’s vehicle selector, and went right for the Premium Dimpled and Slotted Brake Rotors section. Their other rotors also have warranties, but we generally own our cars for a long time, so paying a little extra for the last rotors I’d ever buy for this car didn’t seem like a bad deal. As luck would have it, they were also offering a free set of their standard semi-metallic brake pads with every set of rotors. The rotors cost me $194.27 (that’s for the pair, not each), and the pads cost me nothing (as part of the promotion). Even with the addition of the optional $12 rotor hardware kit I purchased (which comes with replacement clips and rubber boots — watch that how-to video if you want to know where those would be used), my total parts cost was only $205.44. With free shipping! And no sales tax! I was already $493.55 ahead vs. the dealer — and I’d never have to pay to replace these rotors ever again!
My parts arrived quickly and well packaged, but instead of installing the rotors at my house, I drove over to my parents’ house so my Dad could sit in a lawn-chair in his garage and help talk me through it (including telling me which drawers and cabinets contained which tools). As the how-to video hinted, I also had a fair amount of trouble removing the Torx head screw that held the factory rotor to the wheel, and removing that was the only snag in an otherwise straightforward rotor swap.
When I removed the right front brake pads, I noticed that the “inboard” pad was completely worn down to the metal plate, and the inboard side of the rotor was “scored” with deep grooves. This was clearly the source of the scraping noise I’d been hearing, and had contributed to the rotor damage.
The BrakePerformance.com rotors were a perfect OEM fit, and once I learned the “trick” to installing the pads with the new clips (rotate them sideways, slide them in, then rotate out to engage the clips), putting in the new pads was also a snap. The new clips from the hardware kit came in handy, but after replacing one of the original rubber boots with one of the newer ones in the BrakePerformance.com kit, I decided the condition of the original boots was fine, and maybe I’d consider swapping out the other ones the next time I replaced the pads.
A few hours after arriving at my parents’ house (which including a trip to the hardware store and a lot of chatting), everything was put back together, and I was ready to test out my new brakes. After following the instructions in the how-to video to “pump up” the brakes initially, I took a short drive around the block, and gingerly engaged the brakes. Perfection. The SUV stopped smoothly and confidently, and felt the satisfaction that comes only when you do a job right, with higher quality parts vs. what the “professionals” use, all while saving almost $500.
My Escalade now stops without noise or vibration, and the black dimples and slots on my new rotors look great through the wheels. I have nothing but good things to say about BrakePerformance.com‘s products, shipping, and prices. In fact, I’m about to order new pads for my Hummer (the rotors are fine) and do them next.
More from this site:
 Oil Change and Filter Parts for 2008 Cadillac Escalade
 Rave: Cadillac Customer Service is Alive and Well
 Review: Scosche BlueFusion Bluetooth Car Kit
 How to Backup your Navigation DVD/CD
 DIY: Fix a Ferrari Testarossa / 512 TR Hot Start Problem
 How to Fix a Broken Ferrari 328 Hazard Switch
 Using Plasti Dip to Black Out my Grille Emblem